Keep Your Bathroom Dry and Free of Mold with a Simple Post-Shower Routine
After a hot shower, a bathroom is full of moisture. That warm, damp air settles on every surface. If it stays there, mold will eventually find a place to grow. The trick is to remove that moisture before it has a chance to settle in. A consistent drying routine after every shower cuts down on the conditions mold needs to thrive. This article walks through the key areas to check and dry, helping you stay ahead of a mold problem.
Why Bathrooms Are So Prone to Mold
Bathrooms get wet regularly, and they often lack good airflow. Mold spores are always present in the air, but they only grow when they land on a surface that stays damp for more than 24 to 48 hours. A bathroom that never fully dries between showers gives mold a constant invitation. The grout between tiles, the caulk around the tub, and the corners of the shower stall are especially vulnerable. These spots hold moisture longer than flat tile or glass surfaces. Once mold establishes itself, it can stain surfaces, damage materials, and affect indoor air quality. That is why professionals at sites like Mold Removal Boston Pros emphasize a proactive approach: remove the moisture before mold gets a foothold.
The Core Drying Checklist
This checklist covers the main areas that hold moisture after a shower. By running through these points each time, you turn a damp bathroom into a dry one in just a couple of minutes.
1. Squeegee the Walls and Door
Glass shower doors and tile walls look clean after a shower, but they are covered in a thin film of water. Left alone, that water evaporates into the air, raising the humidity in the room. A squeegee pulls most of that water off the surfaces and sends it down the drain. Run the squeegee from top to bottom on each panel. For tiled walls, a few vertical strokes per section is enough. This single step removes a surprising amount of moisture from the air. If you do not have a squeegee, a clean microfiber cloth works well too, but a squeegee is faster and leaves less lint.
2. Wipe Down the Shower Fixtures
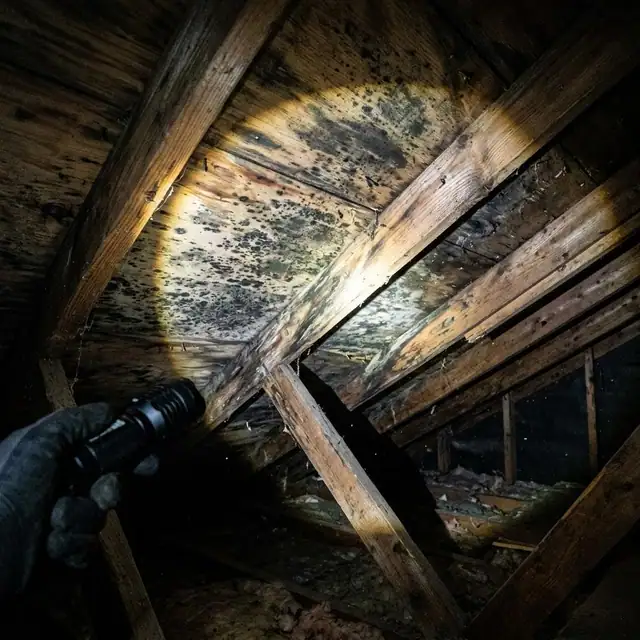
Faucets, showerheads, and handles collect water droplets that linger long after the walls have dried. These droplets can leave mineral deposits and, over time, create a damp spot where mold can grow. A quick wipe with a dry cloth or a towel you already used for drying off is all it takes. Pay attention to the base of the faucet and the area where the showerhead meets the arm. Those joints are common spots for moisture to hide. Keeping fixtures dry also helps them last longer by preventing corrosion and buildup.
3. Dry the Floor and the Mat
The bathroom floor gets splashed during a shower, and the bath mat soaks up a lot of water. A wet floor or a damp mat creates a humid microclimate near the ground. Mold can grow on the underside of a bath mat without you noticing it. After each shower, shake out the bath mat and hang it over the edge of the tub or a towel bar so it can air out. Use a towel to wipe up any puddles on the floor, especially around the toilet and the base of the vanity. If your bathroom has a fabric bath mat, consider switching to a quick-dry rubber or microfiber mat that does not stay wet as long.
4. Leave the Shower Curtain or Door Open
A closed shower curtain or door traps moisture inside the stall. Even after you squeegee the walls, the air inside the stall stays humid. Pull the curtain open so it can dry fully. If you have a glass door, leave it slightly ajar. This allows air to circulate and speeds up drying. For fabric shower curtains, make sure they are spread out and not bunched up in a corner. A bunched curtain holds moisture in its folds, which is a perfect spot for mold. If you notice mildew on the bottom edge of a curtain, it is often because that part stays wet for hours after a shower.
5. Turn on the Exhaust Fan or Open a Window
Ventilation is the most effective way to remove humidity from a bathroom. An exhaust fan pulls moist air out of the room and replaces it with drier air from outside or from the house. Run the fan for at least 15 to 20 minutes after a shower. If your bathroom does not have a fan, open a window if possible. Even a small crack helps. In colder months, you might be tempted to skip this step, but humidity levels are still high after a hot shower. A short run of the fan does not waste much heat compared to the cost of dealing with a mold problem later. For bathrooms without windows or fans, a portable dehumidifier left in the room for an hour after each shower can make a big difference.
Where Mold Hides That You Might Miss
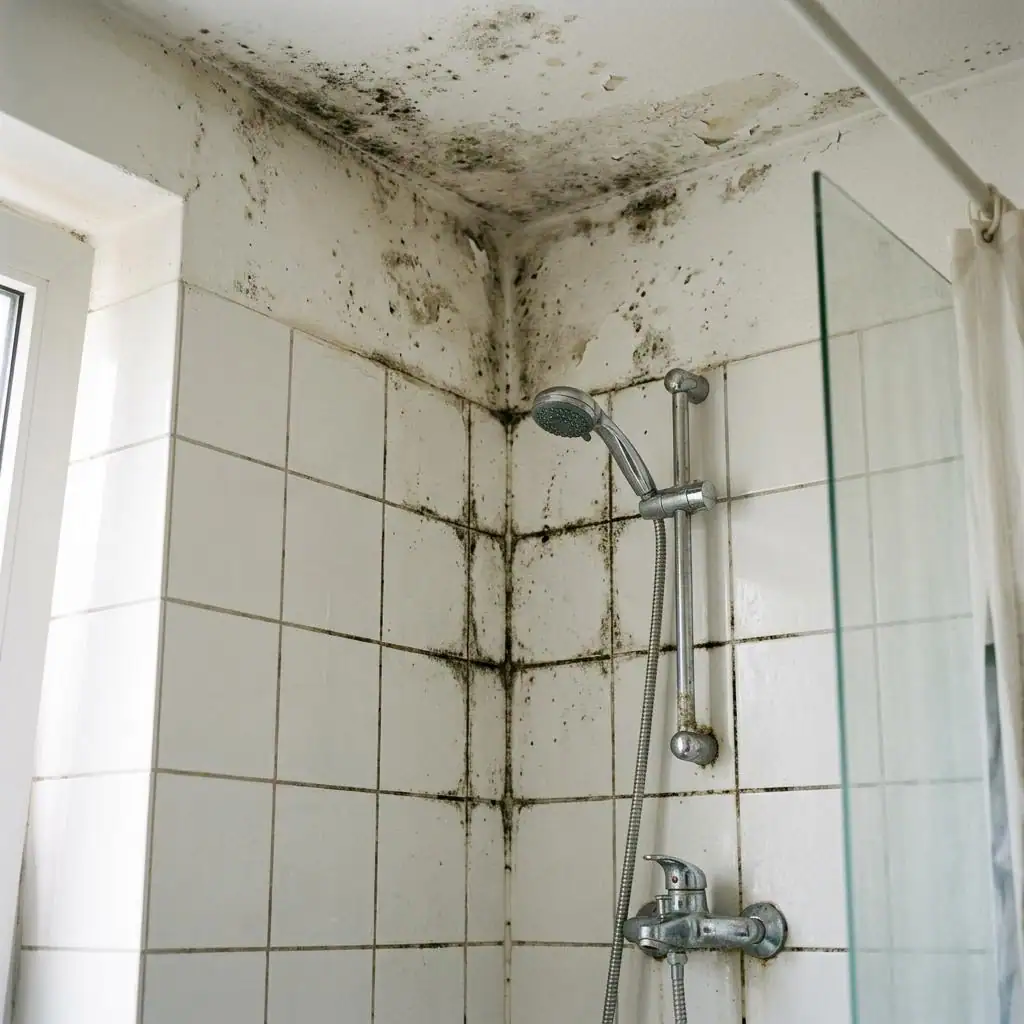
The checklist above covers the obvious surfaces, but mold can grow in less visible spots. These hidden areas are worth checking during your regular cleaning routine, and they are a key part of any thorough bathroom mold inspection.
Behind the Toilet and Under the Sink
The back of the toilet and the area under the sink are often neglected. Pipes can sweat in humid conditions, creating small amounts of condensation that pool on the floor or on the cabinet bottom. Check these spots every couple of weeks. Wipe up any moisture you find. If you see dark spots on the wood or drywall, that could be early mold growth. Catching it early makes removal much easier.
Caulk and Grout Lines
Caulk around the tub and shower is designed to be waterproof, but it can deteriorate over time. Small cracks or gaps in the caulk let water seep behind it, where it stays trapped. That trapped moisture fuels mold growth that you cannot see until it breaks through the surface. Inspect the caulk regularly. If it looks cracked, peeling, or discolored, it may need to be removed and replaced. Grout between tiles is porous and can absorb moisture. Sealing grout once a year helps keep it dry and less hospitable to mold.
The Ceiling and Exhaust Fan
Steam rises, so the ceiling is often the last surface to dry. If your bathroom has poor ventilation, the ceiling can stay damp for a long time. Look for any discoloration or small black specks on the ceiling paint. The exhaust fan itself can collect dust and mold spores. A dirty fan does not work as well, and it can blow spores back into the room. Clean the fan cover every few months with a damp cloth to keep it running efficiently.
How to Build This Routine Into Your Day
A drying routine only works if you actually do it. The key is to make it quick and automatic. Keep a squeegee hanging in the shower so you do not have to search for it. Store a small hand towel near the sink for wiping fixtures. Set a timer on your phone for the exhaust fan if you tend to forget to turn it off. After a week or two, the steps become habit. You will notice the difference in how the bathroom feels and smells. Less humidity means less chance of mold growth, and that means less need for a full bathroom mold inspection down the road.
When to Call in the Professionals
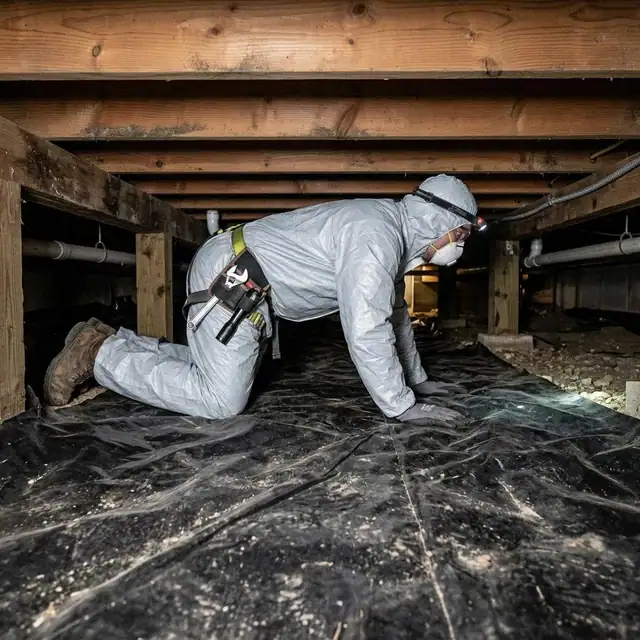
Even with a good drying routine, mold can sometimes take hold. If you notice a persistent musty smell, visible mold that keeps returning after cleaning, or signs of water damage such as bubbling paint or soft drywall, it may be time for a professional assessment. Specialists like Mold Removal Boston Pros can identify hidden moisture sources and deal with mold that has penetrated behind walls or under flooring. Their work goes beyond surface cleaning, addressing the root causes such as ventilation problems or leaking pipes. You can learn more about their approach at moldremovalboston.org. A thorough drying routine is your first line of defense, but professional help is sometimes necessary to fully resolve a mold issue.
Final Thoughts
Drying a bathroom after every shower takes only a few minutes, but it saves time and money in the long run. The checklist is simple: squeegee the walls, wipe the fixtures, dry the floor and mat, leave the curtain open, and run the fan. Add a monthly check of hidden spots like caulk, grout, and under-sink areas. Together, these steps keep your bathroom dry and reduce the conditions that invite mold. A little effort each day can prevent a much bigger problem later. For more detailed guidance on mold prevention and remediation, resources like moldremovalboston.org offer practical advice tailored to the challenges of humid bathrooms.